


在SwiftUI中可以为Text、Image、Label加上边框,方法很多,这里记录几种。
使用border
Label("你是不是我最疼爱的人", systemImage: "heart.fill")
    .font(.largeTitle)
    .padding()
    .border(Color.blue, width: 5)
这样你就得到了一个方方正正的边框

如果我们想让边框是圆角的怎么做呢?
使用background&stroke
以下是不同的方案,结果都是这样的

Label("你是不是我最疼爱的人", systemImage: "heart.fill")
    .font(.largeTitle)
    .padding()
    .background(Capsule().stroke(.blue, lineWidth: 5))
这其实是使用
使用LabelStyle
可是这个边框如果我想让它成为圆角该如何做呢?特别的对于Label你可以使用Style定制,在SwiftUI中有很多自定义Style的能力,可以看这里
这里的LabelStyle是一个非常棒的自定义方式,这也是我为什么现在越来越喜欢使用Label替代Text的原因。其实这个方式也同样使用的是基本的background,但是提前做出一系列可复用的Style听起来也是一个不错的主意。
struct DemoButton: View{
    var body :some View{
        Label("你是不是我最疼爱的人", systemImage: "heart.fill")
            .labelStyle(MyLabelStyle())
    }

    struct MyLabelStyle: LabelStyle {
        func makeBody(configuration: Configuration) -> some View {
            Label(configuration)
                .font(.largeTitle)
                .padding(15)
                .background(Capsule().stroke(.blue, lineWidth: 5))
        }
    }
}
使用overlay&stroke
除了使用background还可以使用overlay,这个产生出来的效果与上面两个一模一样。
Label("你是不是我最疼爱的人", systemImage: "heart.fill")
    .font(.largeTitle)
    .padding(15)
    .overlay(
        RoundedRectangle(cornerRadius: 50)
            .stroke(.blue, lineWidth: 5)
    )
使用strokeBorder
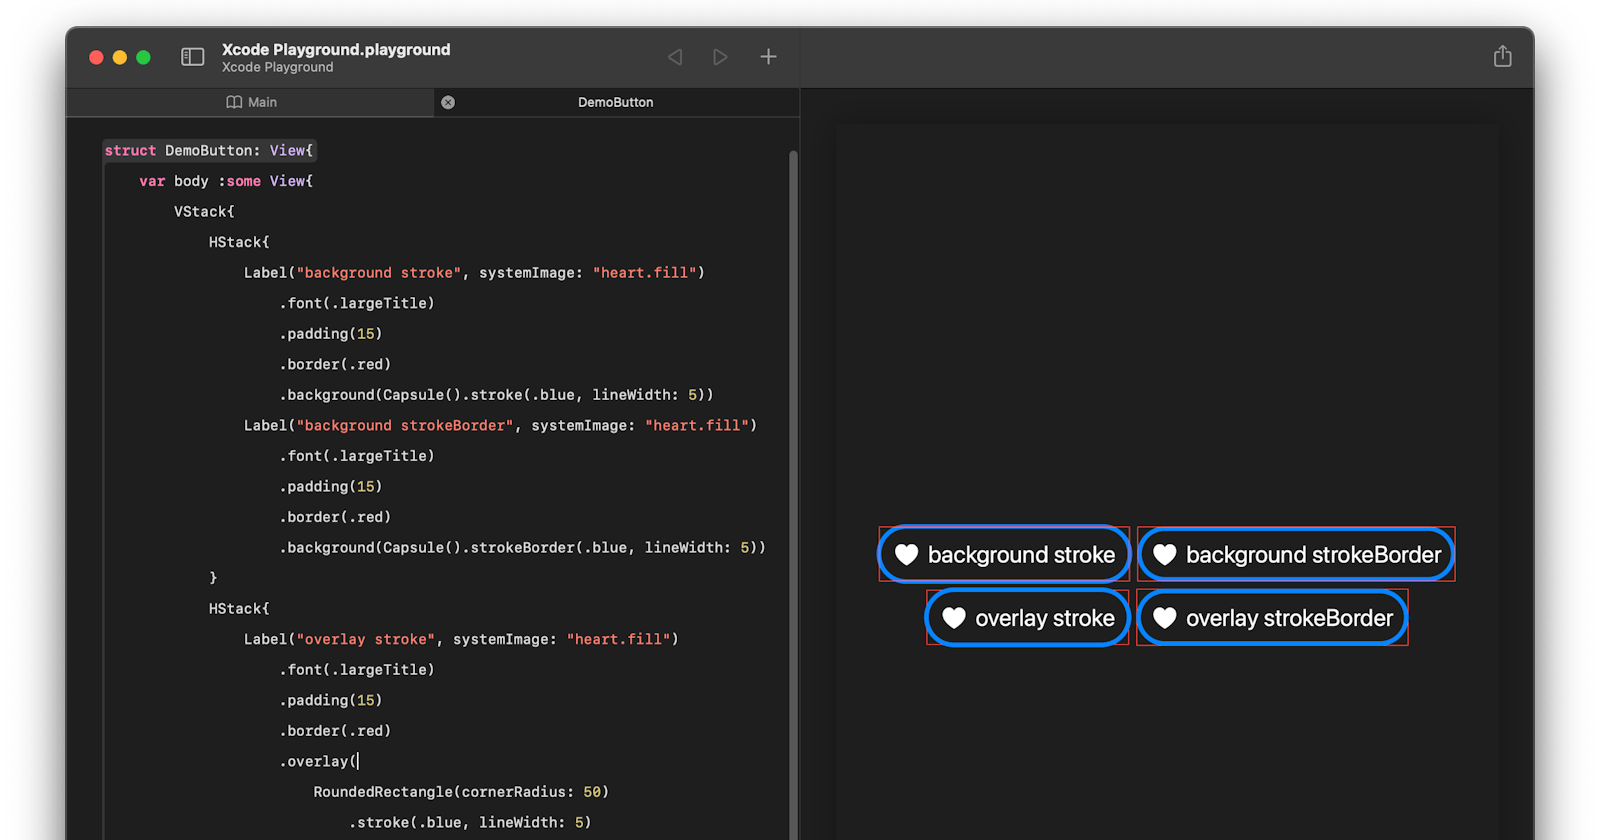
上面所有的stroke都可以变更成为strokeBorder,哪么stroke和strokeBorder会有什么不同的表现吗?我写了这样的一段代码:
struct DemoButton: View{
    var body :some View{
        VStack{
            HStack{
                Label("background stroke", systemImage: "heart.fill")
                    .font(.largeTitle)
                    .padding(15)
                    .border(.red)
                    .background(Capsule().stroke(.blue, lineWidth: 5))
                Label("background strokeBorder", systemImage: "heart.fill")
                    .font(.largeTitle)
                    .padding(15)
                    .border(.red)
                    .background(Capsule().strokeBorder(.blue, lineWidth: 5))
            }
            HStack{
                Label("overlay stroke", systemImage: "heart.fill")
                    .font(.largeTitle)
                    .padding(15)
                    .border(.red)
                    .overlay(
                        RoundedRectangle(cornerRadius: 50)
                            .stroke(.blue, lineWidth: 5)
                    )
                Label("overlay strokeBorder", systemImage: "heart.fill")
                    .font(.largeTitle)
                    .padding()
                    .border(.red)
                    .overlay(
                        RoundedRectangle(cornerRadius: 50)
                            .strokeBorder(.blue, lineWidth: 5)
                    )
            }
        }
    }
}
我们来看看效果:
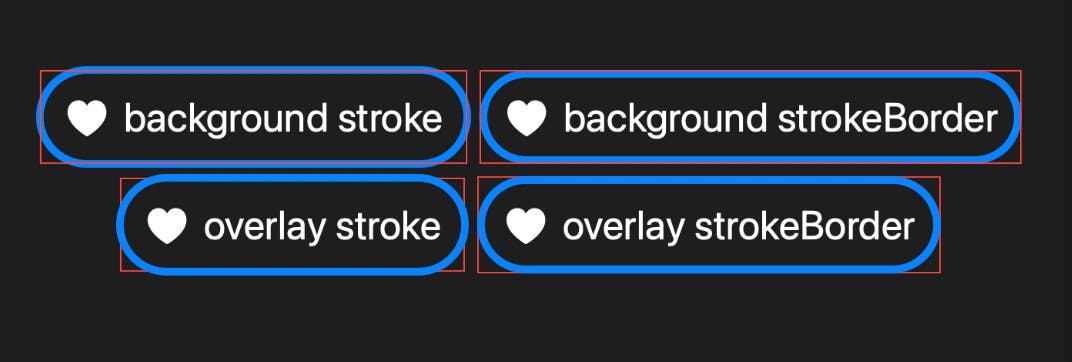
我对比后会发现在overlay中表现是一致的,而在background中,stroke会将边缘绘制到所处区域的外侧,则strokeBorder则全部绘至所处区域内部。所以找你喜欢的用就好,差异并没有大到不可接受。