


在SwiftUI应用CoreData小纸条(四)里我们为两个Entity建立了关系。我们需要利用这个关系做点关联的事。同时也利用SwiftUI应用CoreData小纸条(三) 中的万能View来快速构建查询结果。
构建Chapter和Topic列表
创建两个列表View
有了SwiftUI应用CoreData小纸条(三) 的FilteredList,我们建立两个列表View:
struct ChapterListView: View {
    var body: some View {
        FilteredList{ (item:Chapter) in
            NavigationLink{
                List{
                    Section(item.viewModel.name){
                        ForEach(item.viewModel.topics){topic in
                            Text(topic.viewModel.name)
                        }
                    }
                }
            }label: {
                let item = item.viewModel
                Text("\(item.name)")

            }
        }
    }
}

struct TopicListView: View {
    var body: some View {
        FilteredList{ (item:Topic) in
            NavigationLink{
                List{
                    let item = item.viewModel
                    Text(item.name)
                    if let chapter=item.chapter{
                        Text(chapter.viewModel.name)
                    }else{
                        Text("Not have Chapter")
                    }
                }
            }label: {
                let item = item.viewModel
                Text("\(item.name)")
            }
        }
    }
}
它们利用FilteredList建立了两个List(注意它们都支持左划删除),分别是没有任何查询条件的Chapter所有数据和Topic所有数据。每个条目点进去,都能看到与另一个Entity的关系。
更新ContentView
import SwiftUI
import CoreData

struct ContentView: View {
    @Environment(\.managedObjectContext) private var viewContext

    @FetchRequest(
        sortDescriptors: [NSSortDescriptor(keyPath: \Chapter.name, ascending: true)],
        animation: .default)
    private var items: FetchedResults<Chapter>

    var body: some View {
        NavigationView {
            List{
                NavigationLink{
                    ChapterListView()
                }label: {
                    Text("ChapterList")
                }
                NavigationLink{
                    TopicListView()
                }label: {
                    Text("TopicList")
                }
            }
            .toolbar {
                ToolbarItem(placement: .navigationBarTrailing) {
                    EditButton()
                }
                ToolbarItem {
                    Button(action: addItem) {
                        Label("Add Item", systemImage: "plus")
                    }
                }
            }
        }
    }

    private func addItem() {
        withAnimation {
            let count = items.count
            let newItem = Chapter(context: viewContext)
            newItem.name = "Chapter \(count)"

            for i in 1...3{
                let newTopic = Topic(context: viewContext)
                newTopic.name = "\(newItem.viewModel.name) topic \(i)"
                newItem.addToTopics(newTopic)
            }

            do {
                try viewContext.save()
            } catch {
                print(error.localizedDescription)
            }
        }
    }
}
如果我们点右上角的+,它会为我们增加一个Chapter,并同时为这个新增的Chapter加三个Topic。每个Topic的名字都是这样的Chapter id Topic id。我们做一个操作,点一下+,在Chapter里会多出一个Chapter 4,在Topic里会多出三个以Chapter 4为开头的Topic。然后我们再删除Chapter 4,再去看看Topic,会发现以Chapter 4为开头的Topic们还存在,而它们所对应的Chapter为nil。

Delete Rule
了解Delete Rule
删除规则决定了删除对象时它的关系怎么处理的行为。Core Data 提供了四种删除规则:
- Nullify
置空模式。当关联对象被删除时,将对象设置为Null(nil)。这就是默认的状态了(上面的测试就是基于这种情况)。
- No Action
无为模式。什么都不做。
- Cascade
级联模式。当一个关联关系的记录被删除时,与它相关的所有条目都会删除。
- Deny
拒绝模式。当关联关系的记录被删除时,与它相关的记录如果还有,会拒绝删除当前记录。
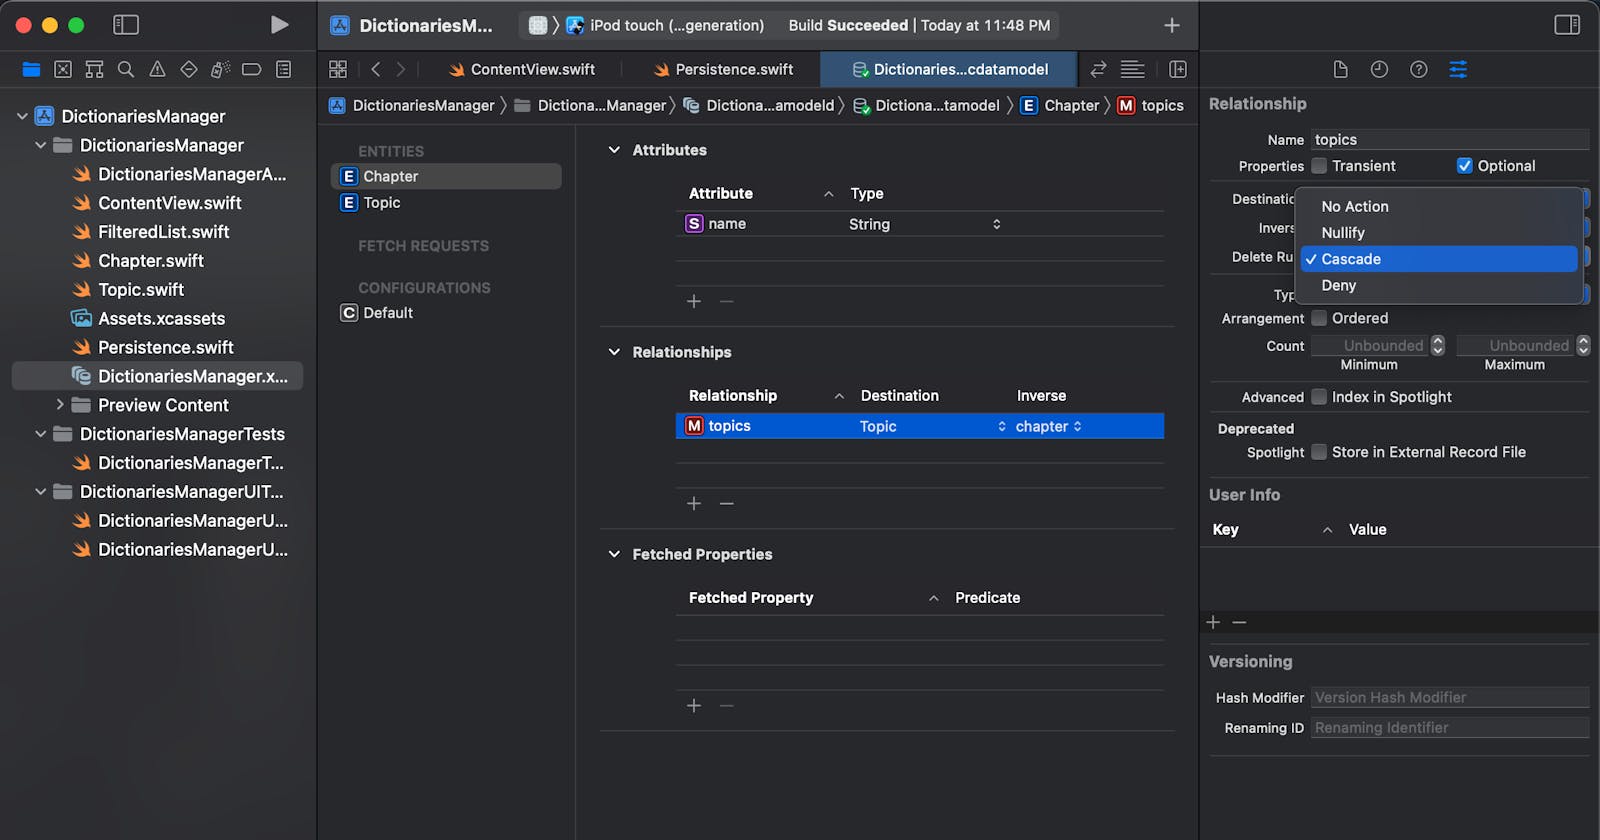
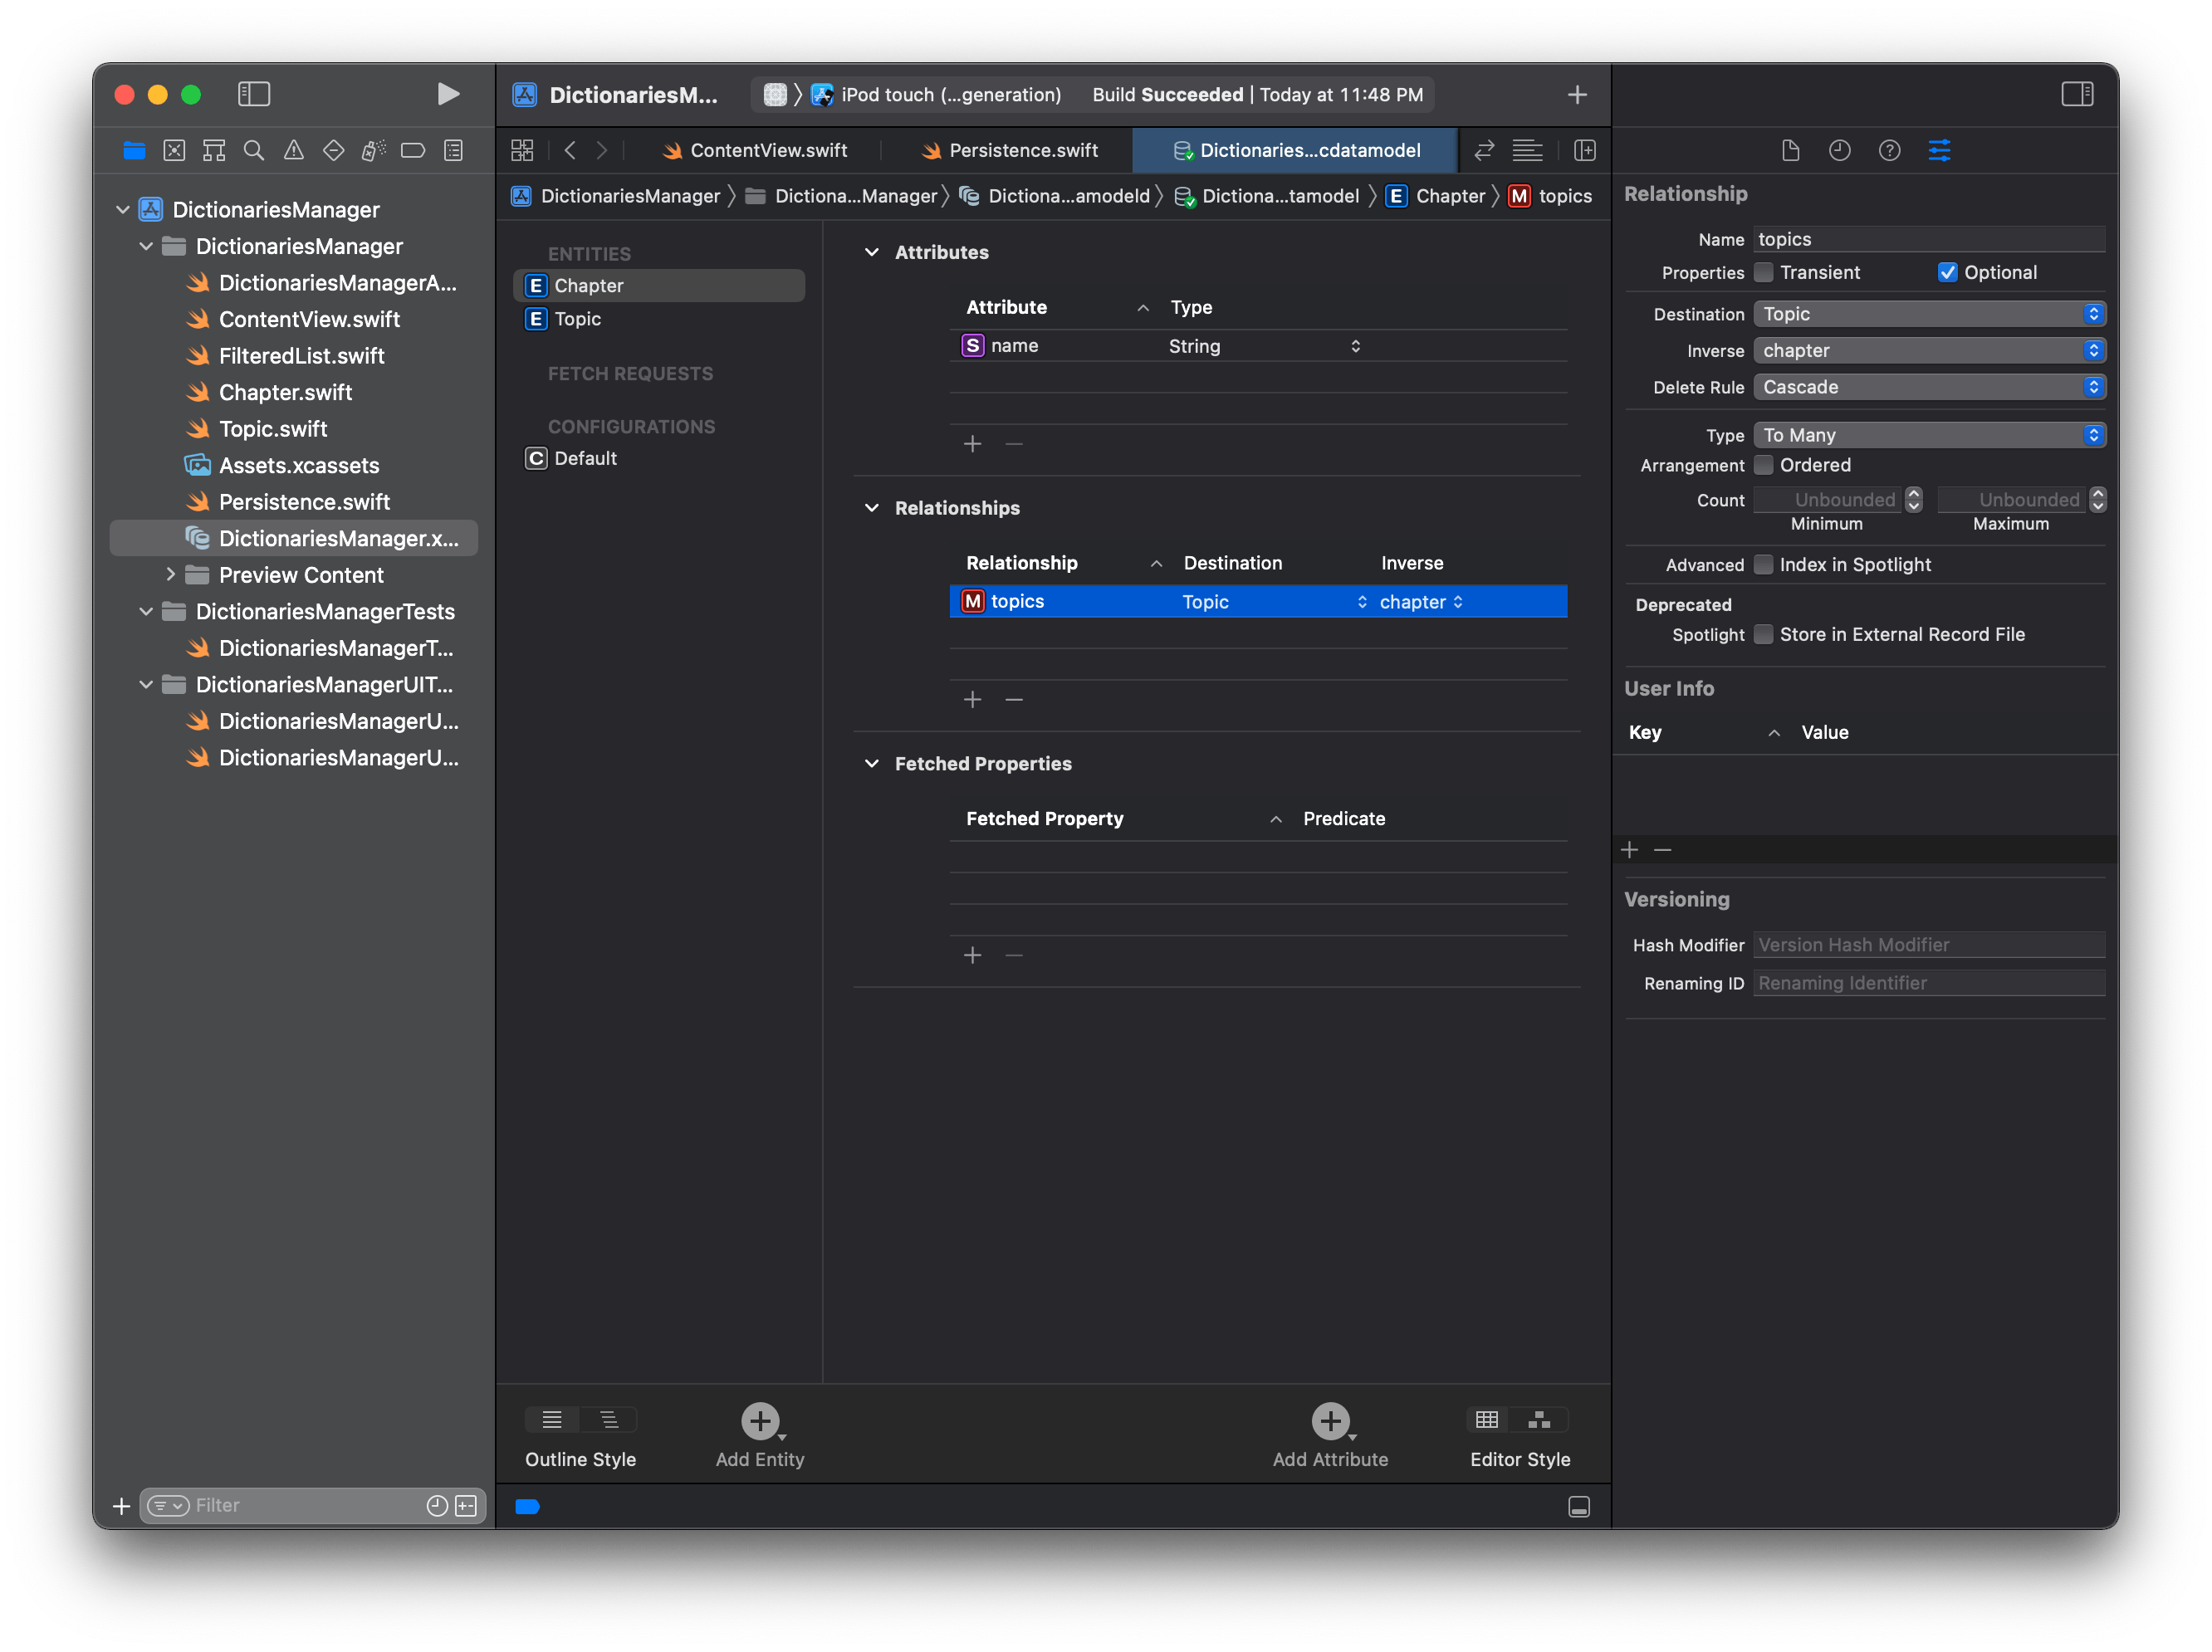
Delete Rule的设置在下图右侧的位置:
设置Cascade
在英语小助手中我希望的是删除一个Chapter就会把它下面的Topics都清除。哪么就需要在Chapter中的topics设置为Cascade,而Topic中的chapter则可以依然保持Nullify。
如果我们将Topic中的chapter关联也设置为Cascade会有什么情况呢?你也可以试一下,效果就是删除一个(注意是任意一个)Topic,CoreData会把它对应的Chapter记录删除,同时将其它的在这个Chapter中的Topic也统统删除。所以设置的时候要看清楚啊!